







Article
Myofascial Release for the Shoulder
Oct
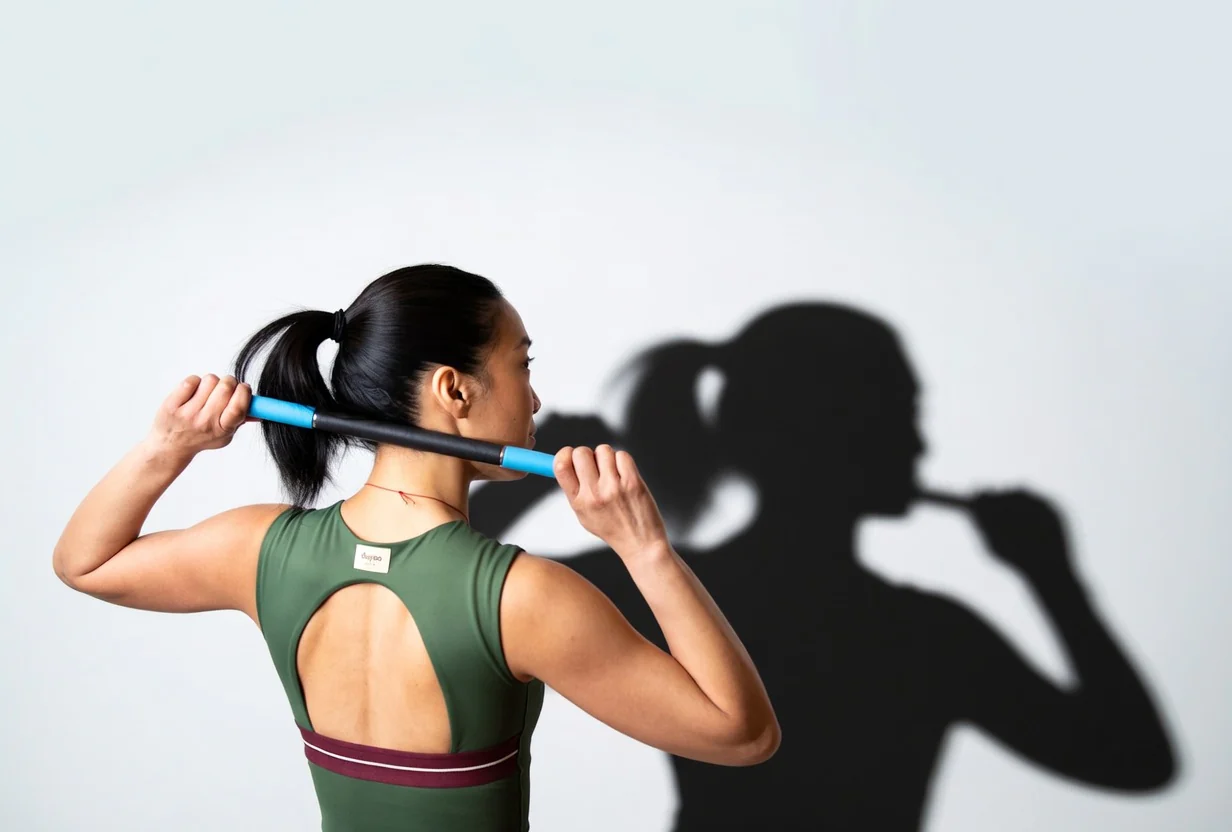
Self-massage, or self-myofascial release (SMR), is one of the most effective methods for relieving shoulder tension at home or in the gym. In this guide, we’ll show you step-by-step how to do it correctly.
What is SMR?
SMR is a therapeutic technique that releases tension and adhesions in your fascia—the connective tissue surrounding your muscles. It’s sometimes simply called self-massage. It can effectively reduce pain and improve overall flexibility. The shoulder is one of the most common areas where tension and knots develop—typically due to poor posture, overuse, or stress—making it a great place to start with SMR.
Can I do it myself?
We don’t always have the time or money to see a massage therapist, so here’s a step-by-step guide for performing myofascial release on your own shoulder. Whether at home or in the gym, you can reduce muscle tightness, chronic pain, poor posture, limited shoulder joint mobility, and rotator cuff issues.
Benefits of shoulder myofascial release
Before diving into the technique, it’s worth understanding the benefits. Regular SMR on the shoulder:
- relieves chronic shoulder pain, muscle strain, and neck pain;
- increases range of motion and restores mobility;
- releases tight shoulders and can help with frozen shoulder;
- improves posture;
- promotes relaxation and stress relief.
You can perform SMR on yourself or consult a professional. Physical therapists and other specialists (massage therapists, chiropractors, personal trainers, biomechanical experts) offer a variety of treatments: deep tissue massage, pain relief, corrective exercises, trigger point therapy, and more.
When should you do SMR?
It’s recommended to do SMR at least three times a week. You can alternate body areas just as you do with your training focus: one day the shoulder, another day the legs. For best results, make SMR a regular part of your training program.
If you feel shoulder pain or stiffness, you can perform targeted point work anytime. Keep each SMR session between 5–10 minutes to avoid making the area more sensitive with too much stimulation. Afterward, get up, move around, and gently circle your arms.
What will you need?
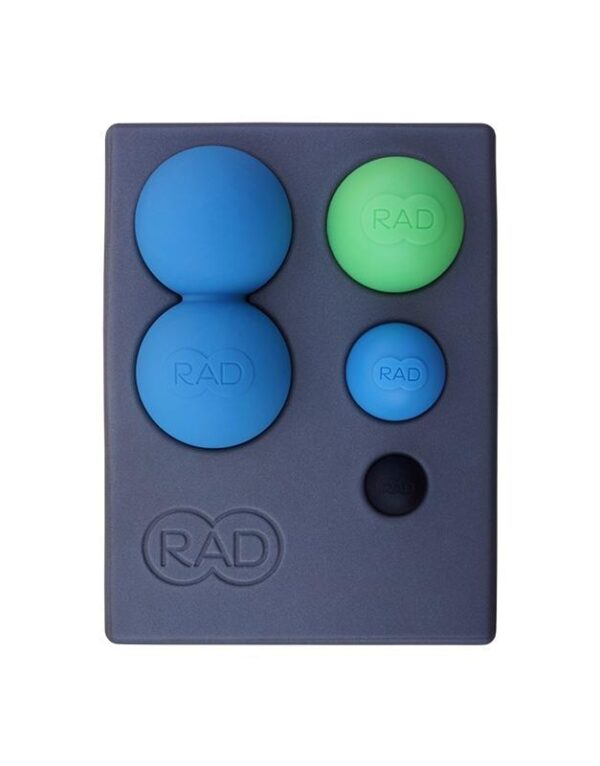
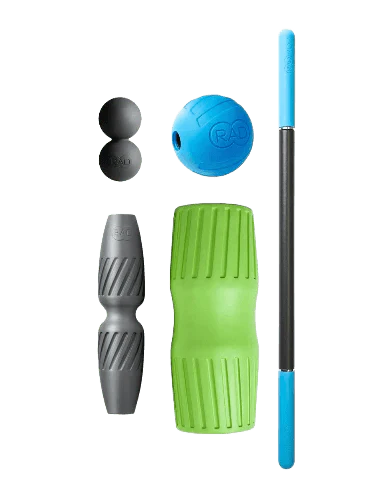
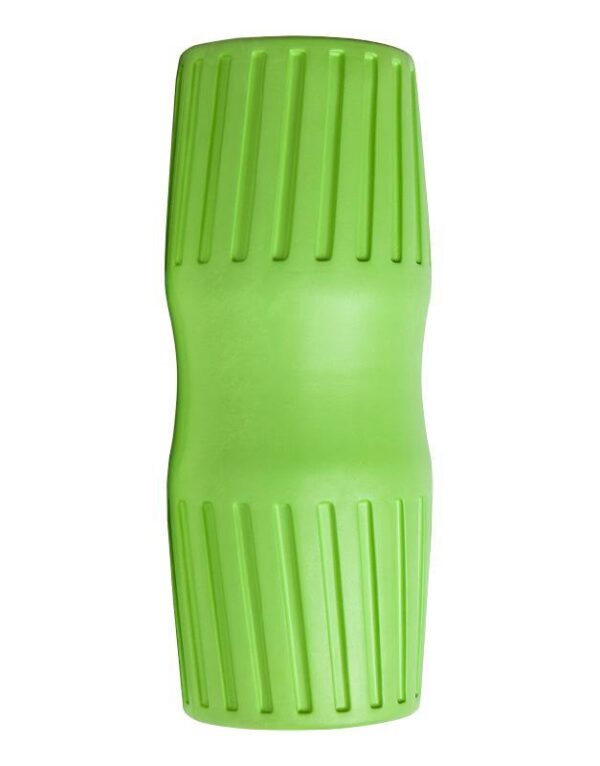

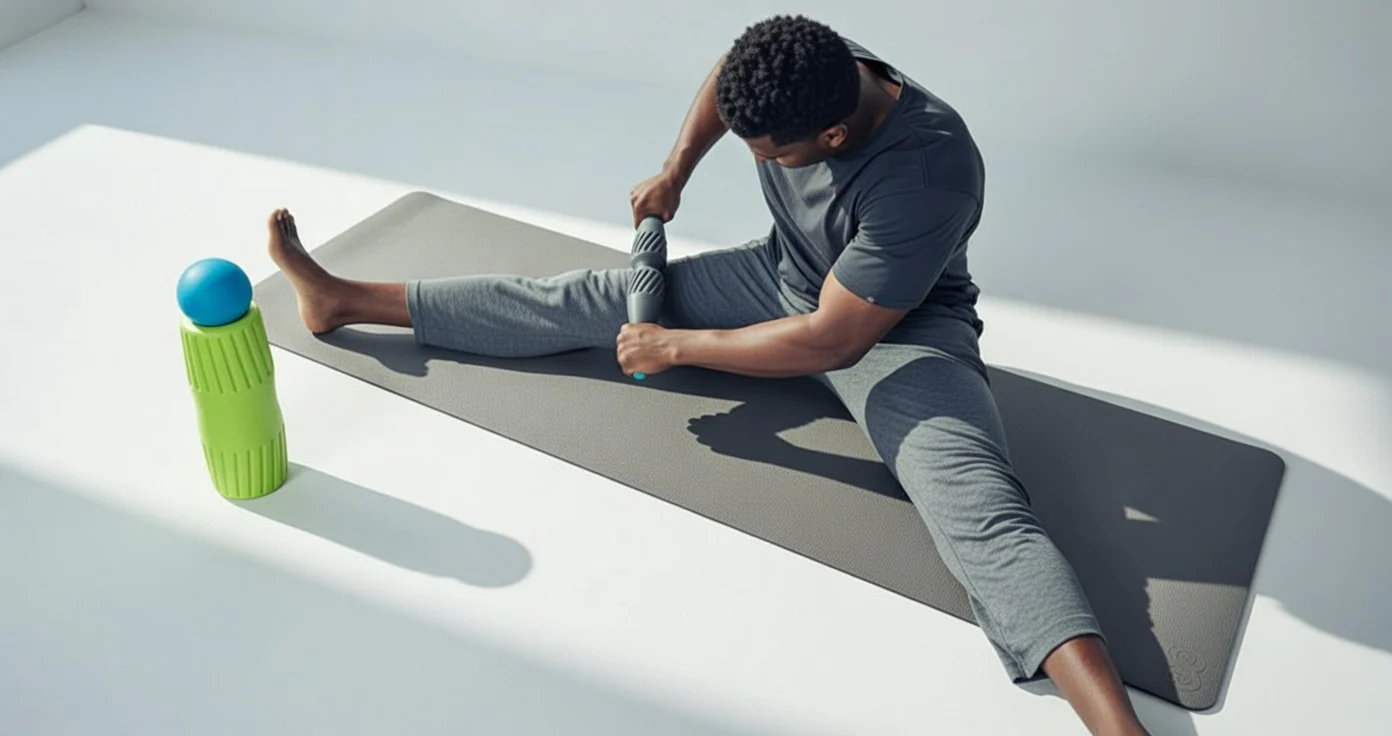
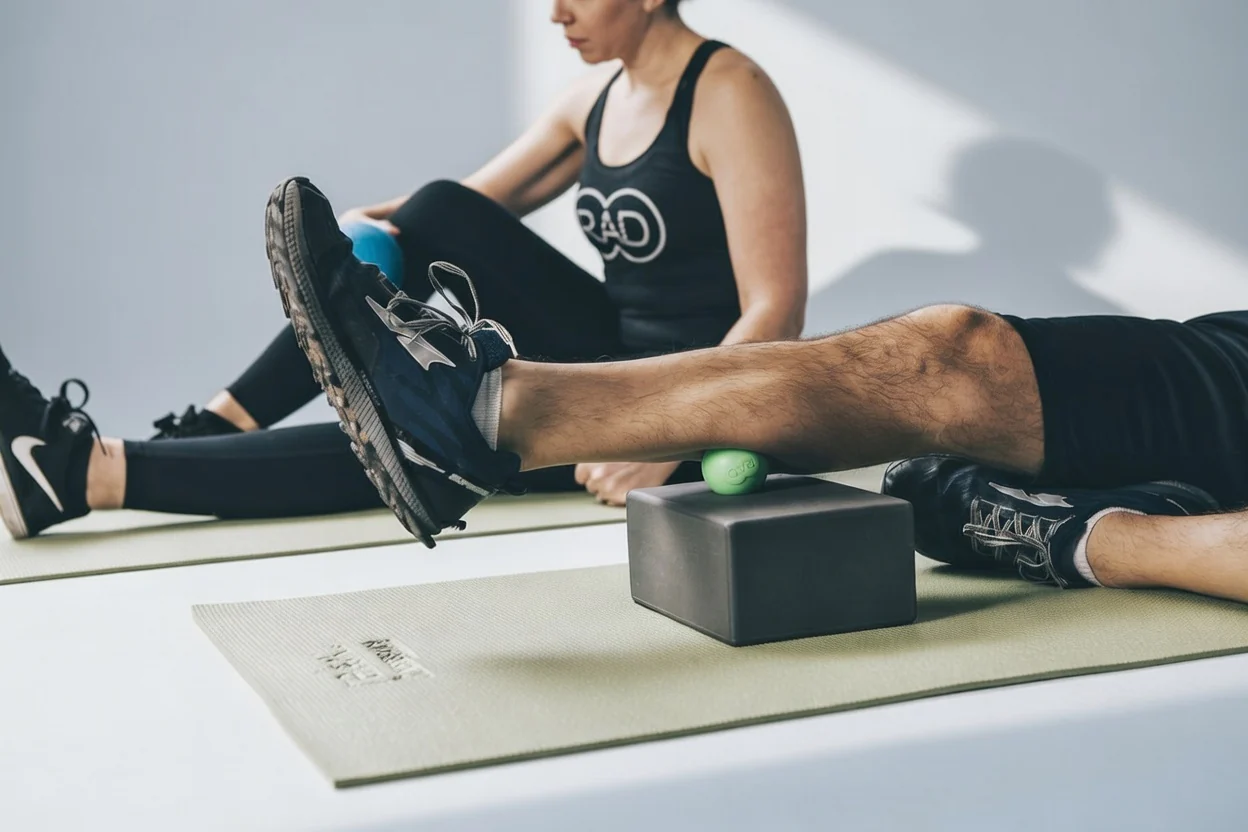
- Tool: a durable massage roller (e.g., RAD Helix) or a massage ball (e.g., RAD Roller). Initially, a tennis ball or lacrosse ball will work if needed. It’s worth starting with a few tools and expanding as you get stronger and more experienced. An SMR set with various shapes and firmness levels is a good starting point.
- Space: a quiet, comfortable place where you can lie down or sit. It’s hard to truly relax in noise and distracting environments. If possible, retreat to a quiet room and take a few deep breaths to relax before you begin.
- Padding: a towel or mat for comfort. Don’t roll on a bed or soft surface; a towel or yoga mat serves as a good buffer between the floor and your body. A towel placed on the tool can also soften the pressure.

Step-by-step: shoulder myofascial release
Prepare the area
Retreat to your favorite corner of the room or gym and lay out your mat or towel. This should be a quiet, comfortable place where you can move freely. You’ll be using the roller or ball on different points of your upper back, chest, and shoulder, moving back and forth in place, so give yourself a little space.
Roller on the upper back
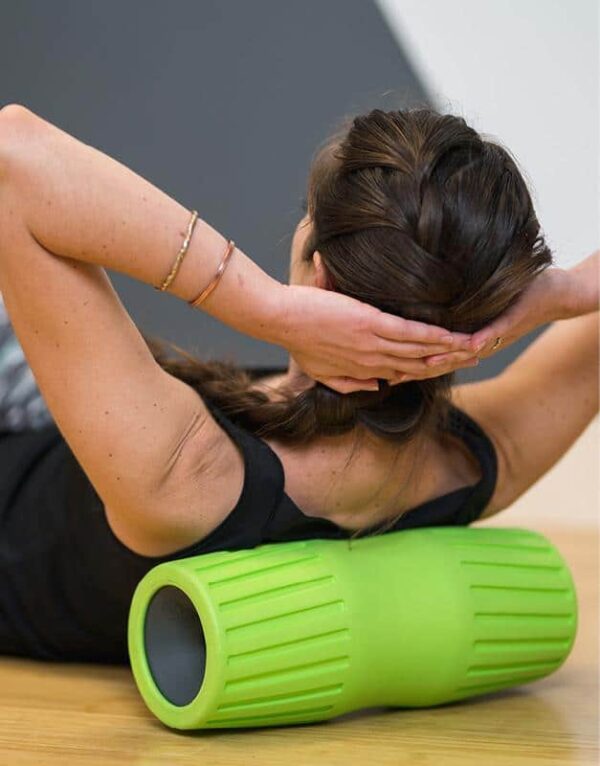
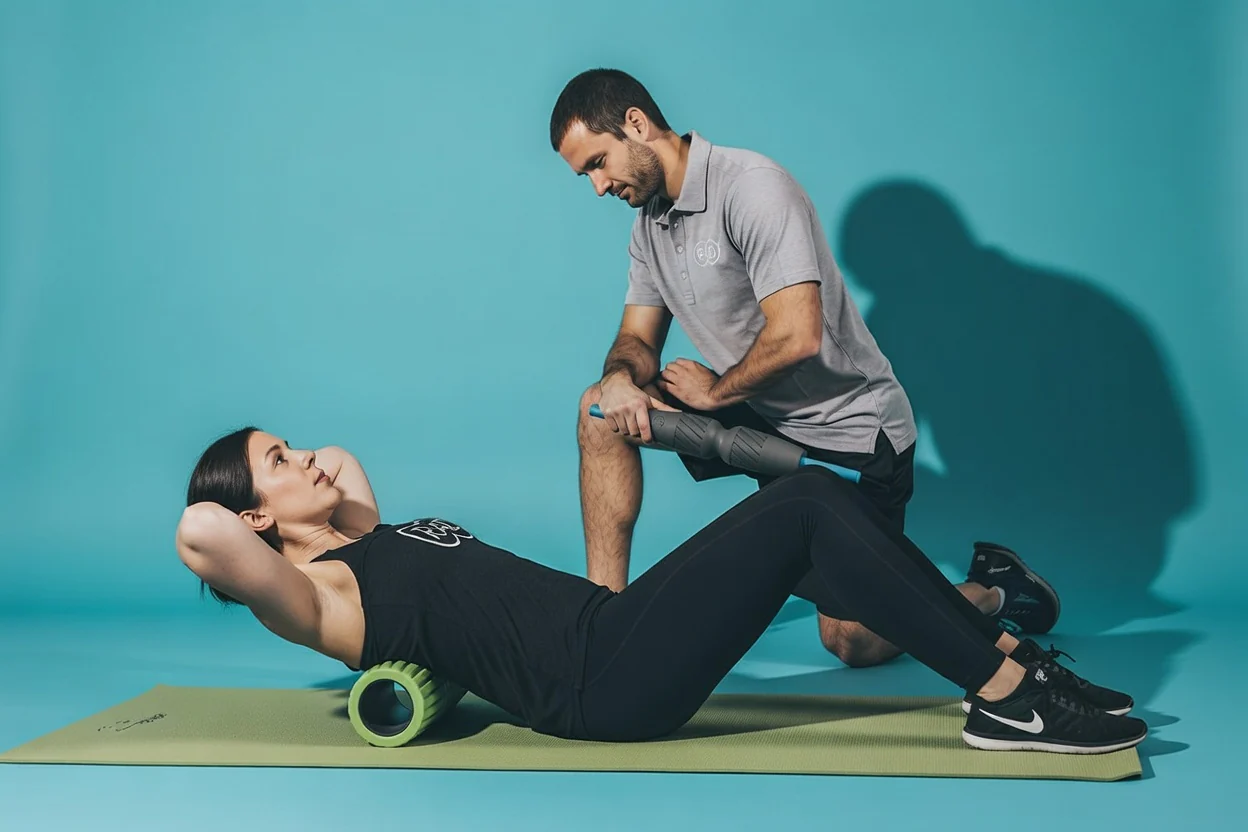
Position: lie on your back and place the roller horizontally under your upper back, just below your shoulder blades. Bend your knees and place your feet flat on the floor for stability. You’re focusing on the back muscles, so where you contact the roller, your body should be parallel to the ground—you may need to lift your hips to achieve this. Keep your knees bent for balance.
Technique: slowly roll across your upper back and shoulder by gently pushing your body up and down. Move up and down, concentrating on areas where you feel tightness or discomfort. Move only a few inches at a time. You don’t need to roll your entire back in one motion. To increase intensity, lift your hips. To decrease it, use a softer surface.
Advanced technique
Now try something more challenging. By now you’ve probably found a few tender spots. Roll back to one of them, then move slightly above it, about an inch and a half, so you’re not pressing directly on the sore spot. Relax onto the tool, let your weight settle, and take deep breaths. Slowly cross your arms over your chest, then rock your hips from side to side. This shifts your body weight slightly and changes the pressure on the tool.
If this isn’t too painful, open your arms out to the sides, then raise them overhead. This is an advanced form of trigger point therapy: combining the “press and hold” technique with muscle movement creates a cross-directional shearing force that pulls and twists the muscle fibers in different directions.
Pressure: pause for 20–30 seconds on tender spots with moderate pressure. Never roll directly on the spine.
Target the trapezius and deltoid
Position: sit or lie on your side so the roller is positioned under your shoulder blade, targeting the trapezius (the muscle running along the top of the shoulder) and the deltoid (the rounded muscle of the upper arm).
Technique: slowly roll from the top of the shoulder toward the upper arm with gentle pressure. By changing the angle of your body, you can target different areas: trapezius, deltoid, rotator cuff.
Advanced technique
As before: find the right position for the tool, then slowly begin moving the arm on that side in different directions to stretch and mobilize the tight muscles. Take slow, deep breaths as you do this. For more pressure, reduce the knee bend so more of your weight rests on your back.
Pressure: pause for 20–30 seconds on tight or sore spots, then continue rolling. Don’t overdo it—less is sometimes more. The harder you work the tissue, the more damage you cause and the longer recovery takes. SMR shouldn’t be excessively painful. Look for the “hurts so good” feeling.

Massage ball for precision work
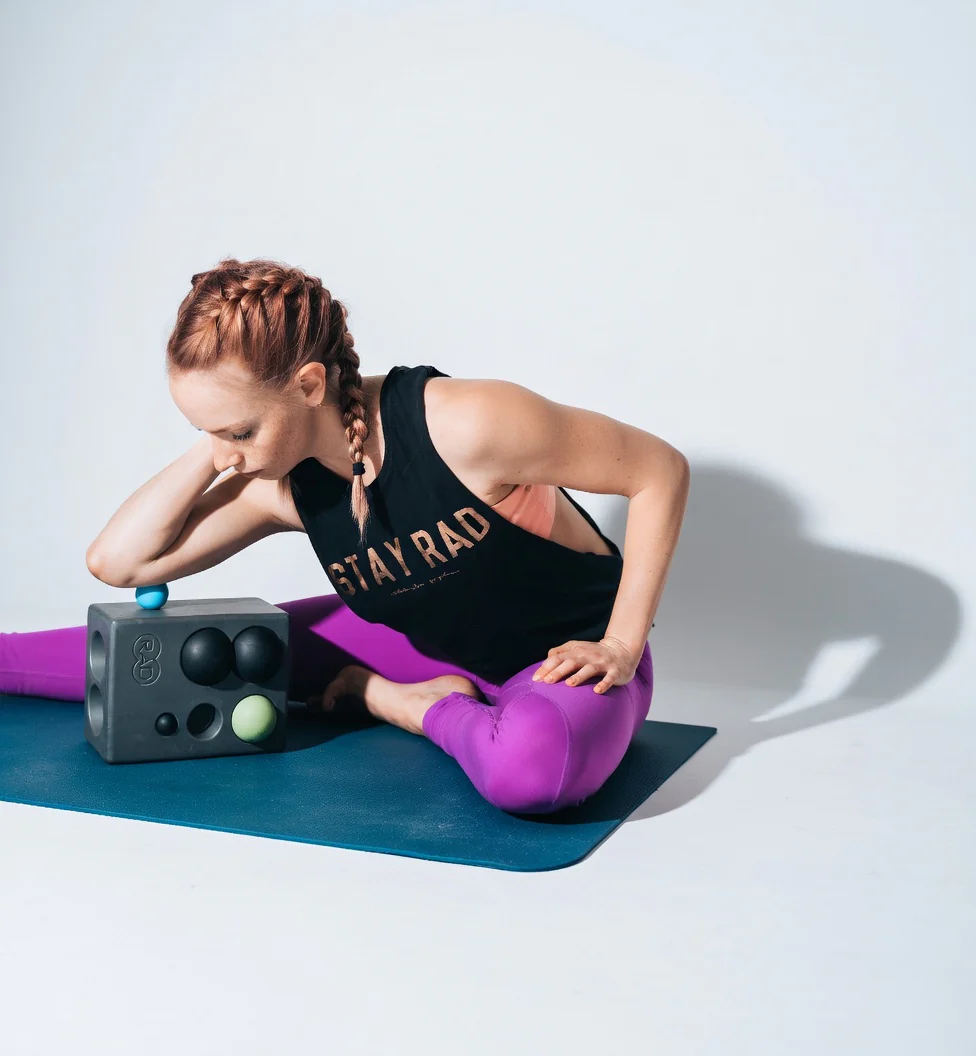
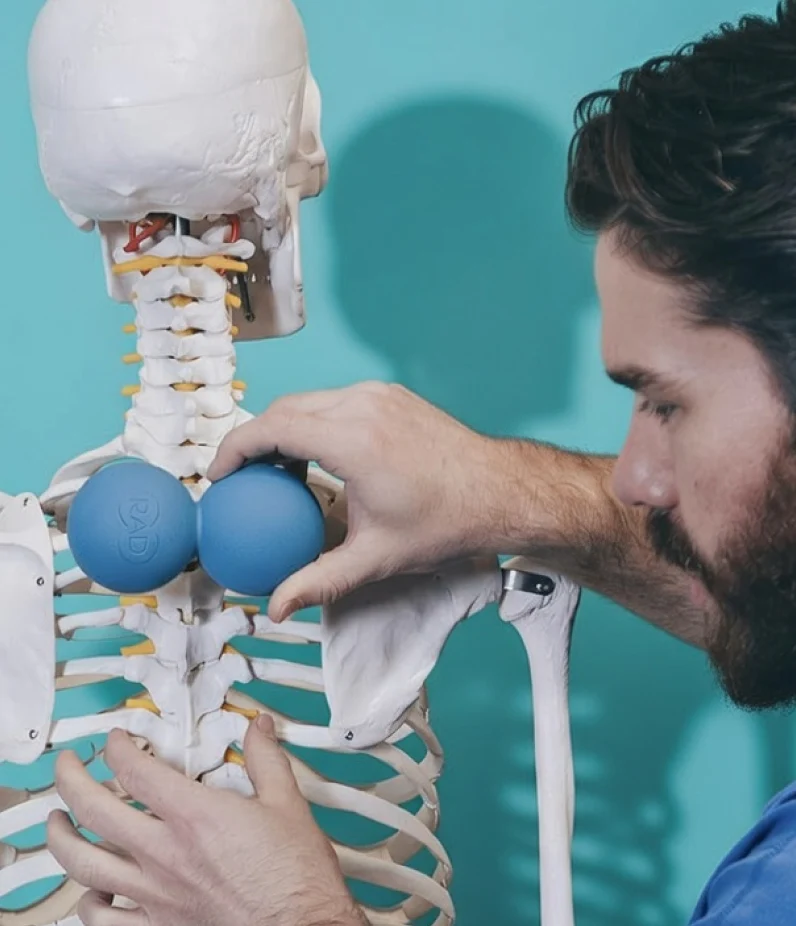
If you have a massage ball (e.g., RAD Rounds or Recovery Rounds), you can more effectively address targeted muscles or reach trigger points and tight spots in the shoulder that a roller simply can’t access.
Position: place the ball against a wall or on the floor and position it between your shoulder blade and spine. To target the deltoid, you can also place the ball under your upper arm.
Technique: gently lean into the ball and move your body to roll across tight areas, focusing on uncomfortable spots. Use slow, controlled movements to release the muscle fibers.
Advanced technique
If you need even more intensity and have tried the above, lift one foot slightly off the floor.
Pressure: apply as much pressure as is comfortable, but never force the ball into sore spots—let the pressure build gradually.
Releasing the chest and pectoral muscles
The pectoral muscles often tighten, especially if you spend many hours at a desk or in a forward-leaning posture. To release the tension:
Position: lie face down and place a roller or ball under your chest. For a ball, position it on the pectoralis major; for a roller, place it horizontally so you can roll across the chest area.
Technique: gently roll across the chest area to target the pectoralis major. Adjust your body position to find tender spots and work them with sustained, firm pressure for 20–30 seconds.
Advanced technique
To further increase intensity, you can place your feet on the wall. This puts your full weight on the contact point with the tool. This isn’t recommended for everyone, but for dense, tight tissue, it may be exactly what’s needed.
Stretch after releasing
After you finish SMR, it’s important to close with gentle movements and stretches that further release muscle tension and increase flexibility. This teaches your muscles to use the new range of motion. If you don’t move after SMR, it can lead to muscle strain and greater stiffness, and you’ll miss an opportunity to increase your range of motion.
Stretches you can do
- Overhead shoulder stretch: extend one arm overhead and gently lean toward the opposite side to open the muscles surrounding the shoulder and chest.
- Chest and shoulder opener: stand or sit upright, clasp your hands behind your back, and push your arms away from your body while lifting your shoulders and chest upward.
- Windmill: slow, single-arm windmills are great for opening the shoulder. Circle your arm five times, then do the same with the other.
Tips for effective shoulder SMR
Don’t overdo it
Apply moderate pressure and avoid excessive pain. SMR should feel like a deep massage, not an injury. If you feel mild discomfort or pain relief, you’re in the right place. If you’re holding your breath or it hurts, you’re pressing too hard—move the tool a few inches so you’re not directly on the sore spot.
Don’t roll on injuries
SMR doesn’t heal bone or seal skin. If you’ve had a fracture, surgery, or torn tendon, avoid the area. Instead, roll the joints above and below the affected area. If you’re recovering in any way, ask your doctor whether deep tissue massage would be beneficial for you.
Breathe deeply
Focus on deep breathing during the release—it helps relax the muscles and increases the technique’s effectiveness. We recommend taking 5–10 deep, slow breaths at each treated point. This also helps you time each position.
Consistency
Build myofascial release into your regular routine. Even once-a-week SMR helps maintain shoulder health; over time, try to work up to two or three times a week.
Hydration
Drink plenty of water before and after the session to help flush out substances released during the process.
When should you see a professional?
If you experience persistent or sharp pain, or if you notice swelling or bruising, it’s important to consult a professional. While myofascial release is an excellent self-care technique for relieving shoulder pain, it’s not suitable for everyone or every type of shoulder pain.
As mentioned earlier: if you’re recovering from an injury, ask your doctor’s opinion before starting on your own. They’re best positioned to determine whether SMR would be beneficial at that point.
Summary
Myofascial release is a simple and effective technique for relieving shoulder pain and tension. With tools like massage rollers and massage balls, combined with stretching, you can improve flexibility, reduce discomfort, and support long-term back health. Build these techniques into your self-care routine for a healthier, more mobile upper body.
Related articles
- Myofascial release for the upper back
- Myofascial release for the upper arm
- 3 myofascial techniques you need to know
RELATED PRODUCTS
SUGGESTED PRODUCTS