







Article
Myofascial Release for the Upper Arm

Oct
Myofascial release (SMR) is a therapeutic technique that releases tightness and tension in the fascia—the connective tissue surrounding your muscles. It improves circulation, reduces pain, and increases flexibility. The upper arm—especially the biceps, triceps, and forearm—can easily become tight from weight training, repetitive movements, or poor posture. In this article, we’ll walk through how to perform myofascial release on the upper arm.
Benefits of Upper Arm Myofascial Release
Pain Reduction
SMR releases discomfort caused by tight fascia and muscles, providing relief for conditions like tennis elbow, golfer’s elbow, or muscle soreness.
Greater Flexibility
By releasing tension in the fascia, your muscles move more freely, increasing arm flexibility and range of motion.
Faster Recovery
Regular SMR can speed up recovery after intense training or injury, reducing muscle stiffness and improving circulation.
Stress Relief
Like other bodywork techniques, myofascial release reduces overall stress and promotes relaxation.
Tools You Can Use
Before you begin, it’s helpful to have the following tools ready:
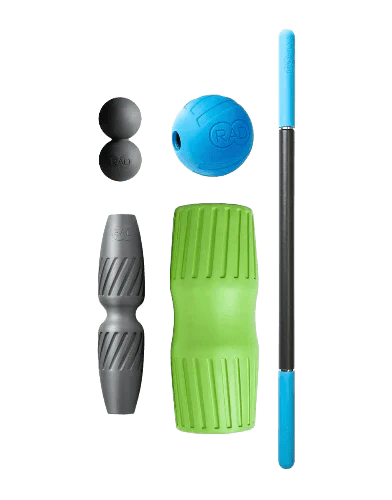
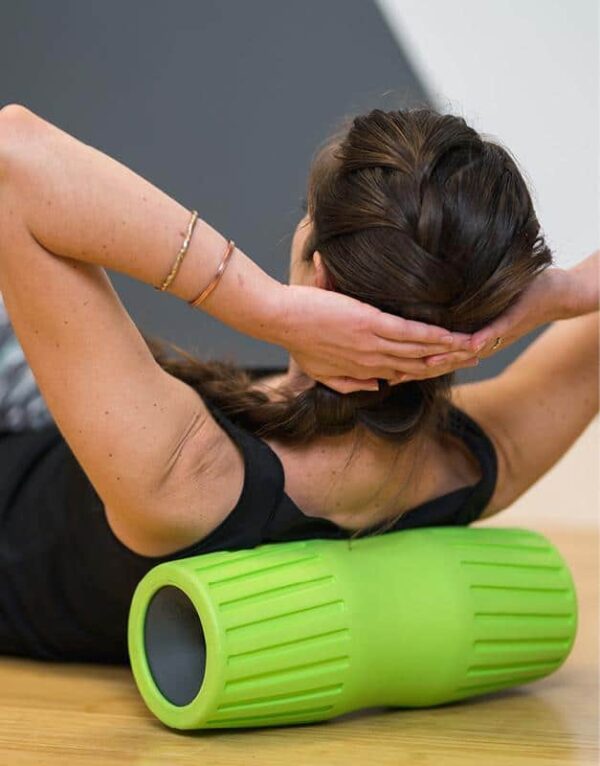
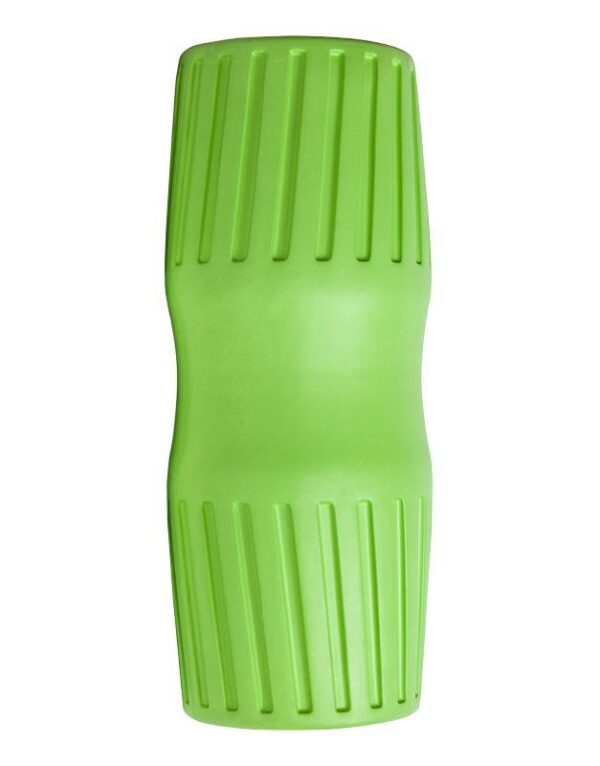
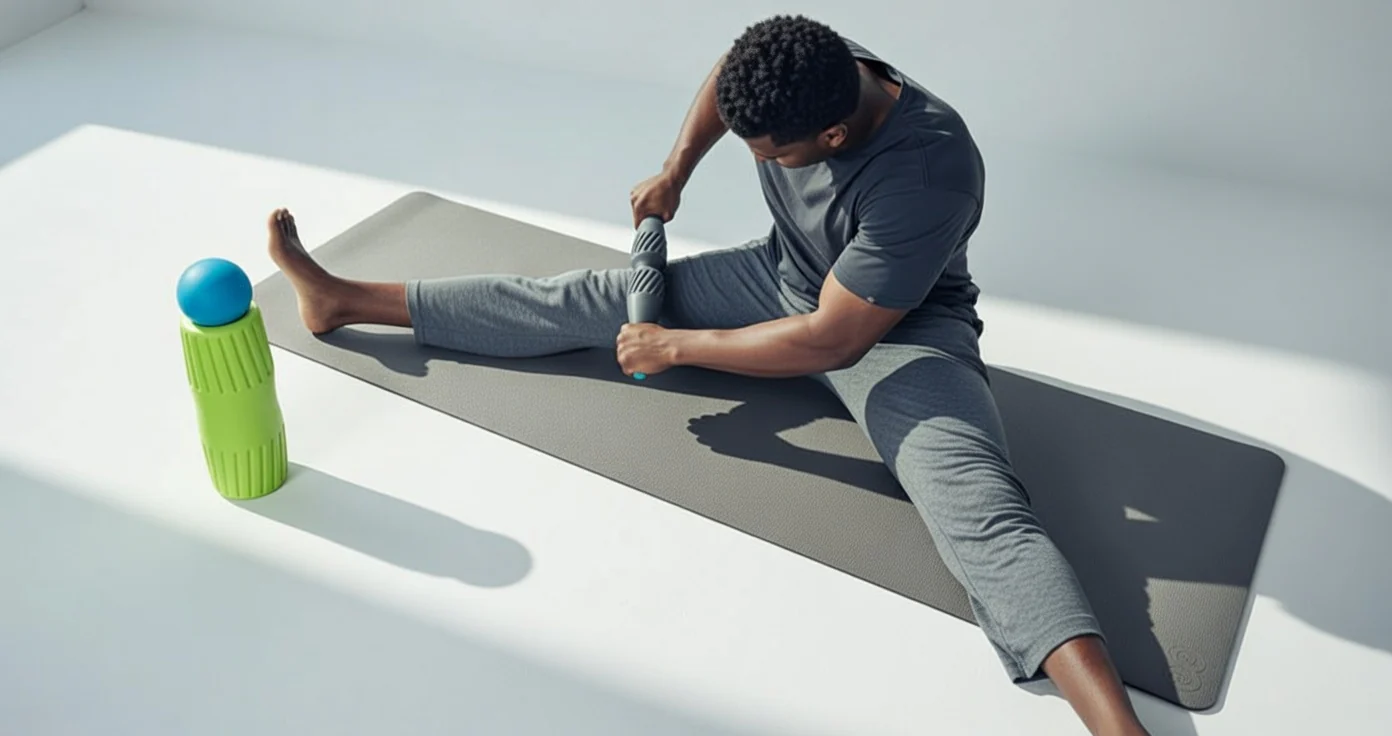
- Massage roller: ideal for larger areas like the upper arm, chest, and back. Start with something standard, contoured, and compact so you don’t have to bend around the tool to make contact.
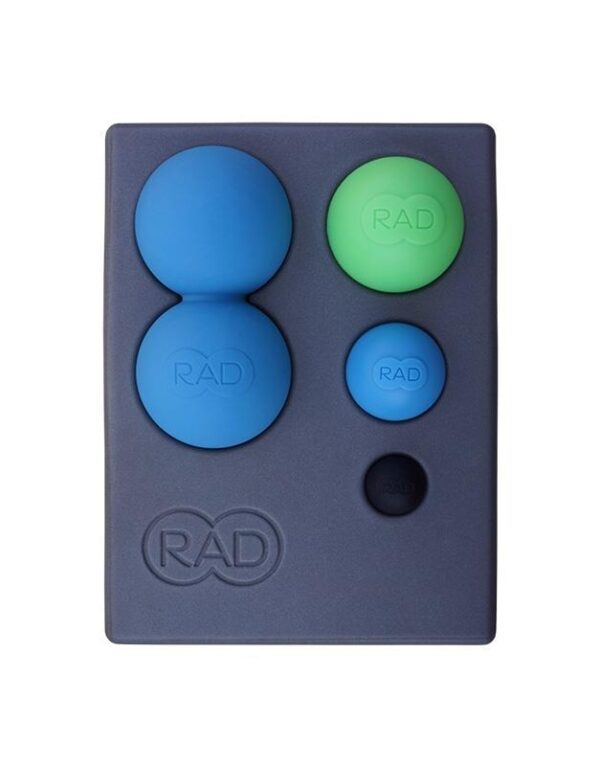
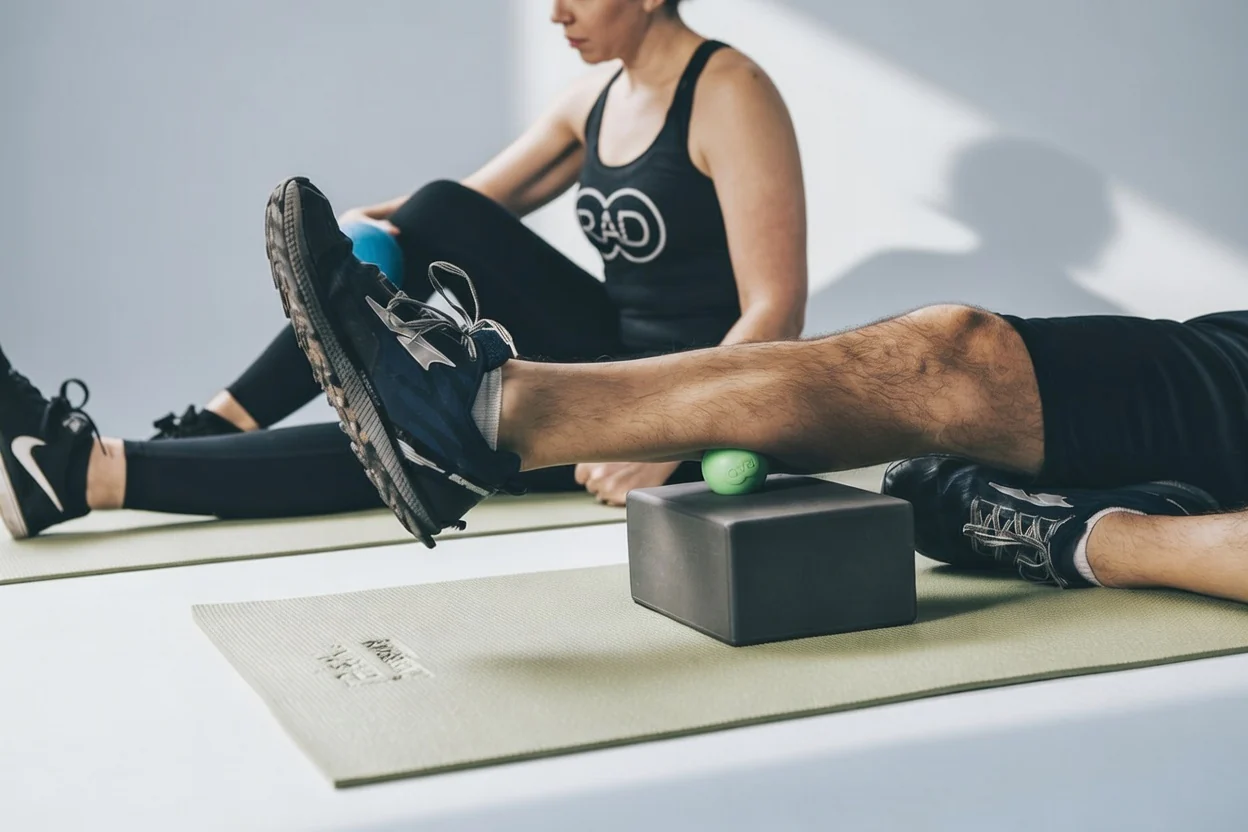
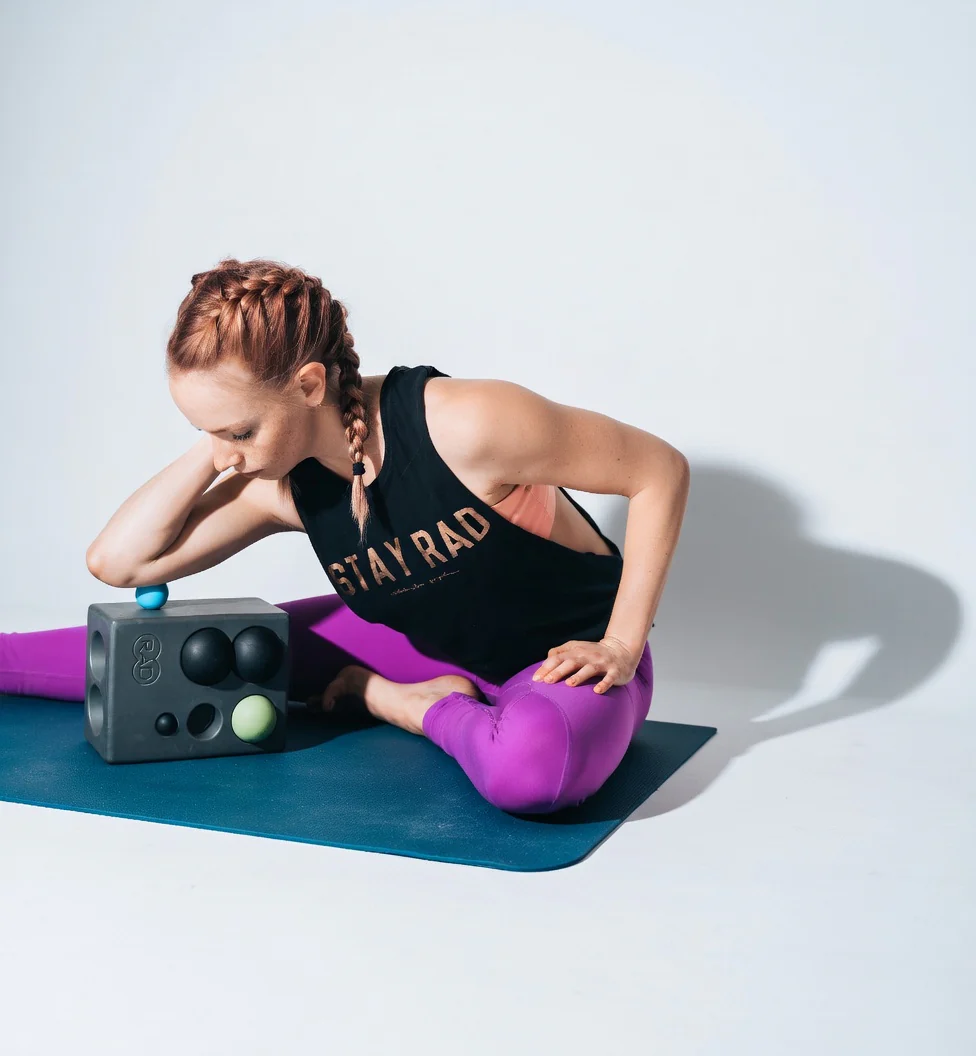
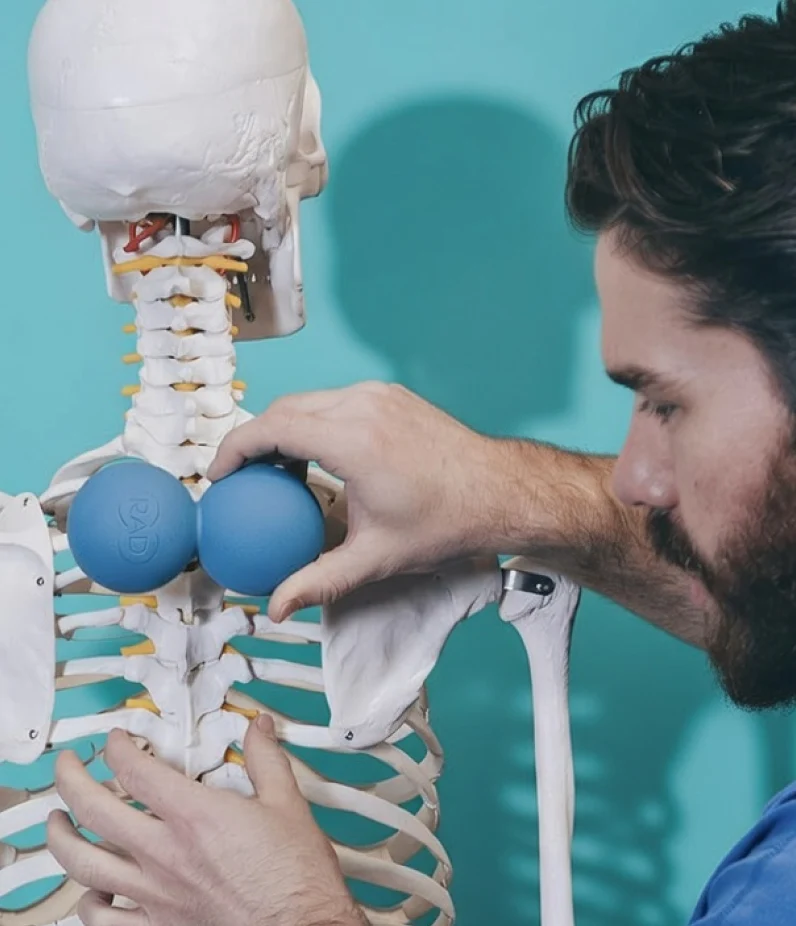
- Massage ball: best for smaller, more targeted areas—excellent for releasing the biceps. Massage balls come in different firmness levels and sizes; it’s worth trying several to find which one releases your biceps muscle best.
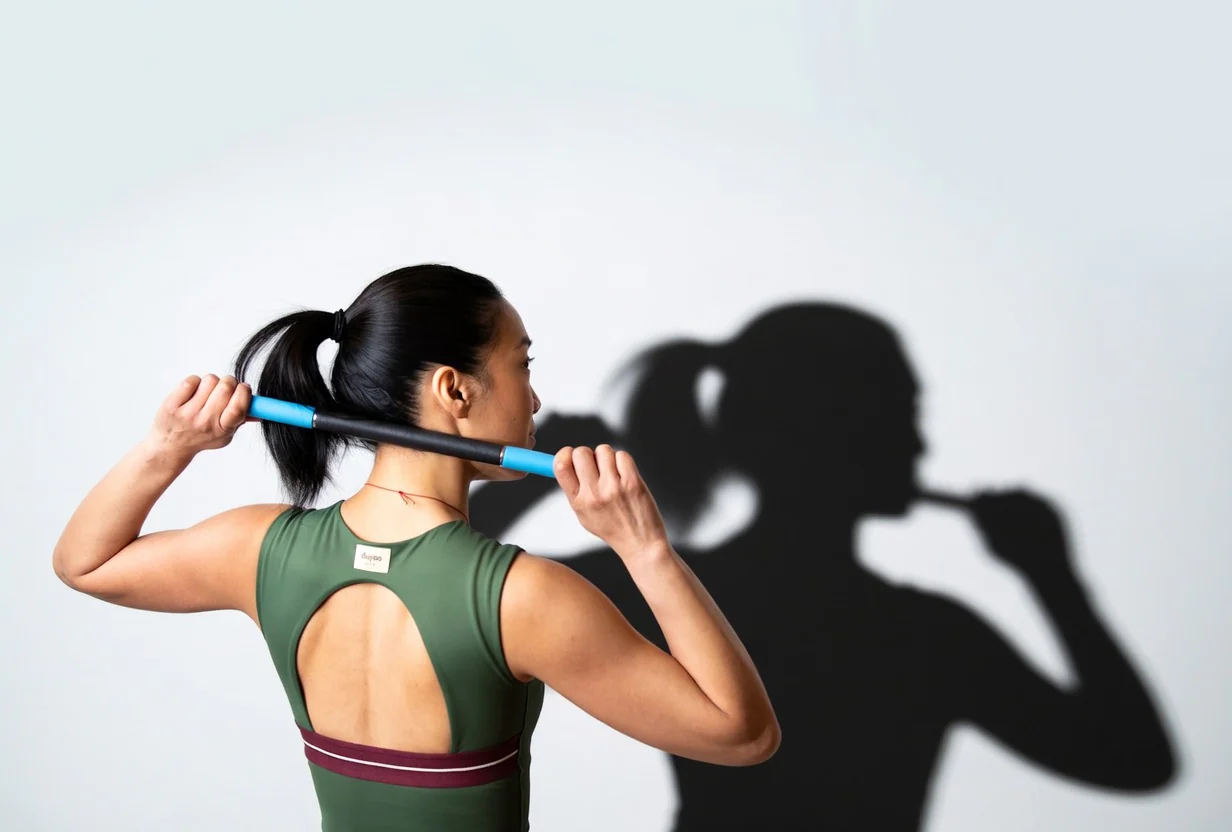
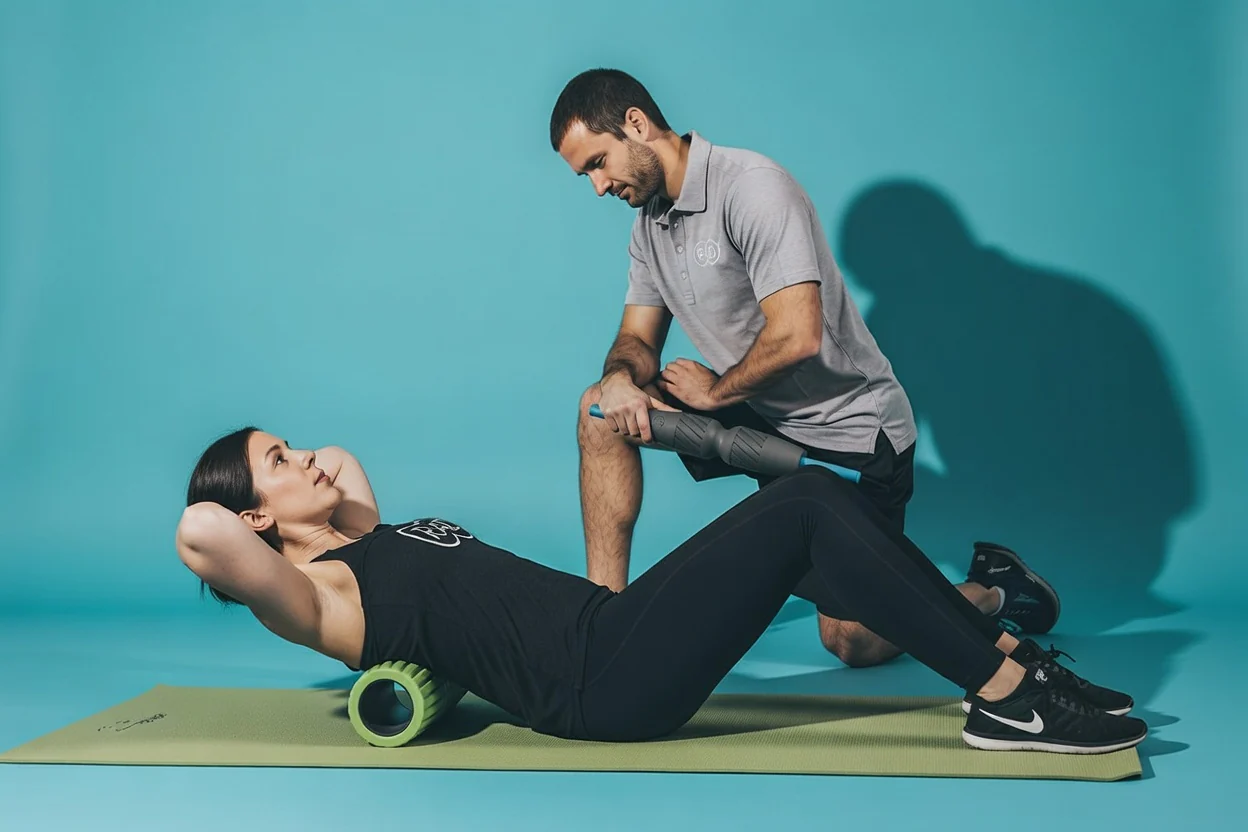
- Massage rod: “flushes out” waste products from the muscles and lymphatic system. A clean system reduces muscle soreness and speeds recovery—e.g., the RAD Rod mini.
- Your hands: if direct touch feels comfortable, you can also use your fingers or thumb. However, regular SMR can strain your hands and wrists due to the pressure and angle needed to reach the deeper biceps muscle, so if this becomes a regular part of your practice, using a tool is recommended.
How Do I Choose the Right Tool?
Every tool has its purpose, so choose what works best for you. Vibrating rollers are popular, but it’s easy to apply too much pressure with them, and they’re generally expensive. The internal vibrating mechanism can break down or corrode over time, and removing it usually ruins the tool; plus, the batteries and wiring can cause issues at airport security. Your activity level and sport determine the best choice: regular CrossFitters, marathoners, and professional athletes may do well with a firmer tool, while beginners or those with a slimmer build may find overly strong, fast tools painful.

Step-by-Step: Upper Arm Myofascial Release
Now that you have your tool and space, all that’s left is to roll. Here are the steps for optimal upper arm SMR.
Warm Up Your Muscles
Before any release work, it’s important to warm up. Perform gentle arm circles, stretches, or light aerobic movement (walking, cycling) for 5–10 minutes. This loosens the muscles and makes them more receptive to release. A short walk offers more physiological benefits than static stretching.
Targeting the Biceps (Front of the Upper Arm)
With a Massage Roller
- Sit or lie down so the roller is on the floor. Place your upper arm on the roller so the tool sits under your biceps.
- Slowly roll up and down the full length of the biceps muscle with gentle pressure. If you find a tight spot or knot, pause and hold the pressure for 20–30 seconds.
- Continue for about 1–2 minutes.
With a Massage Ball
- Hold the massage ball in one hand and press it against a wall or smooth surface. Place your feet on the floor, parallel to the wall.
- Position the ball on a tight spot in your biceps, press it gently with your body weight, and move it in small circular motions. Increase pressure as needed, but don’t push to the point of pain.
Targeting the Triceps (Back of the Upper Arm)
With a Massage Roller
- Lie face down so the roller is under your triceps.
- Roll slowly up and down the triceps muscle, pausing on tight areas. Don’t perform pulling motions on the muscle; you shouldn’t feel catching or uneven pressure.
- Hold for 20–30 seconds on particularly tight spots.
- Repeat for 1–2 minutes.
With a Massage Ball
- Place the ball on the back of your arm and press it into tight areas, especially near the elbow or shoulder joint.
- Gently move the ball to release tension, adjusting pressure to your comfort level.
Targeting the Forearm
With a Massage Roller
- Place your forearm on the roller, palm facing down.
- Gently roll up and down the forearm. Pay attention to the area near the elbow joint if you feel pain or tightness there.
With a Massage Ball
- For greater precision, use a massage ball and place it on tight spots in the forearm.
- Roll the ball back and forth along the muscle fibers, or press and hold on trigger points for 20–30 seconds.
With Your Hands, for Deep Release
- For deeper release, use your own hands: with your fingers or thumb, gently press on trigger points (small, tight spots in the muscle).
- Focus on areas with increased tension and soreness.
- Use slow, circular motions or steady pressure to release knots for 20–30 seconds.

Tips for Effective Myofascial Release
Be Consistent
SMR is most effective with regular practice. Build it into your routine several times a week, especially after workouts or during demanding periods.
Don’t Overdo It
Apply gentle pressure. SMR should not hurt. If you feel sharp or intense pain, stop immediately.
Stay Hydrated
Drink plenty of water before and after the session. Hydration helps flush out substances released during the process.
Pay Attention to Your Posture
Proper posture is key to preventing upper arm tension. Incorporate posture-correction exercises into your routine as well.
When to See a Professional
If you experience chronic pain, deep muscle tightness, or discomfort that doesn’t improve with self-care, consult a massage therapist or physical therapist. A professional can identify underlying causes and provide personalized guidance for myofascial release.
Summary
Self-massage is an effective technique for releasing upper arm tension, promoting relaxation, and improving flexibility. Whether you use a roller, massage ball, or your own hands, this technique releases muscle tightness and improves your movement. By incorporating it into your regular routine, your upper arm will stay strong, flexible, and pain-free.
Related Articles
- Myofascial Release for the Shoulder
- How to Use a Massage Ball
- 3 Myofascial Techniques You Need to Know
RELATED PRODUCTS
SUGGESTED PRODUCTS